第一步:
<!-- 开启组件扫描 base-package 扫描该包下以及子包下的所有注解 -->
<context:component-scan base-package="com.chengyang.bean"></context:component-scan>
第二步:在该包下的类前面使用注解
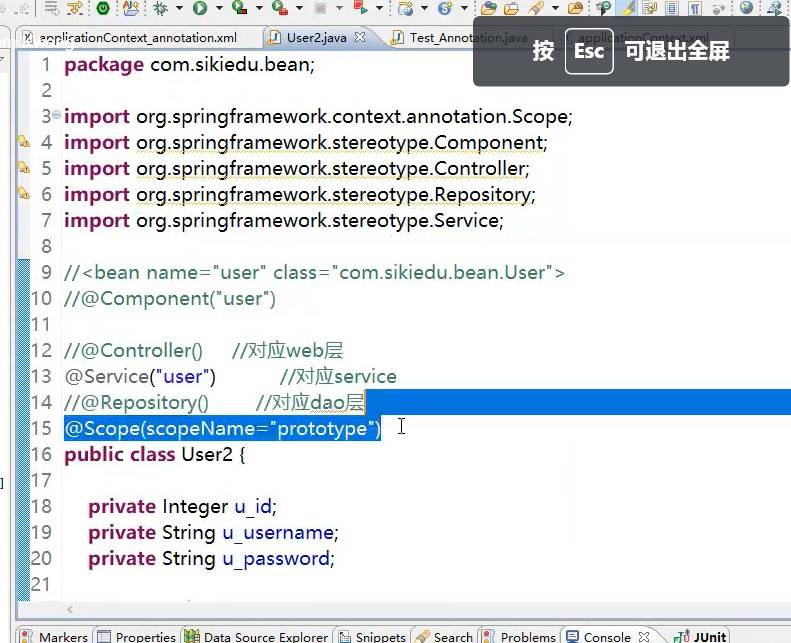
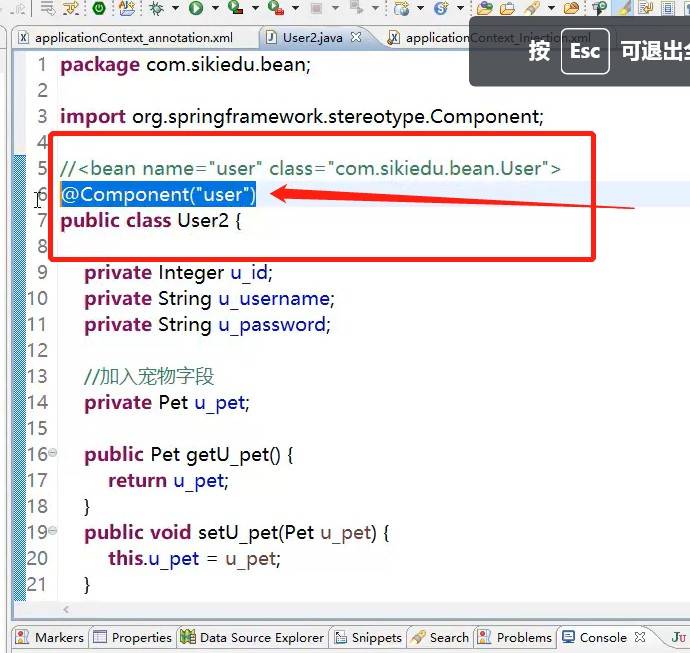
//<bean name="user" class="com.chengyang.bean.User"/>
//用下面的注解机代替
@Component("user")
第三步:我们从容器中获取对象时候使用
ApplicationContext ac=new ClassPathXmlApplicationContext("applicationContext_annotation.xml");
User2 u2=(User2)ac.getBean("user");
System.out.println(u2);
他会自动去指定容器applicationContext_annotation.xml
中的指定的base-package="com.chengyang.bean"中找有@Component("user")的类然后创建一个对象
在将来的实际使用中我们实际上不会去使用@Component("user") 注解而是使用下面三个注解
@Controller
@Service
@Repository
/----------------------------/
使用@Scope(scopeName="singleton")
代替我们之前在bean 中配置的scope="singleton"
对于我们使用的init-method="initMethod"
可以直接在User类的initMethod前面使用
@PostConstruct
public void initMethod() {
System.out.println("initMethod");
}
@PreDestroy
public void destroyMethod() {
System.out.println("destroyMethod");
}